In Germany, the sausage isn’t just a quick meal—it’s the result of centuries of refinement. Yet, even the highest-quality, expertly crafted sausage can be compromised by the wrong cooking method. Whether you’re standing over a glowing charcoal grill or working with a cast-iron pan in your own kitchen, the goal remains the same: a perfectly crisp, golden-brown casing that gives way to a succulent, flavor-packed center. Let’s take the guesswork out of the process and master the art to grill your sausage to perfection
Sausage types: Understand the difference
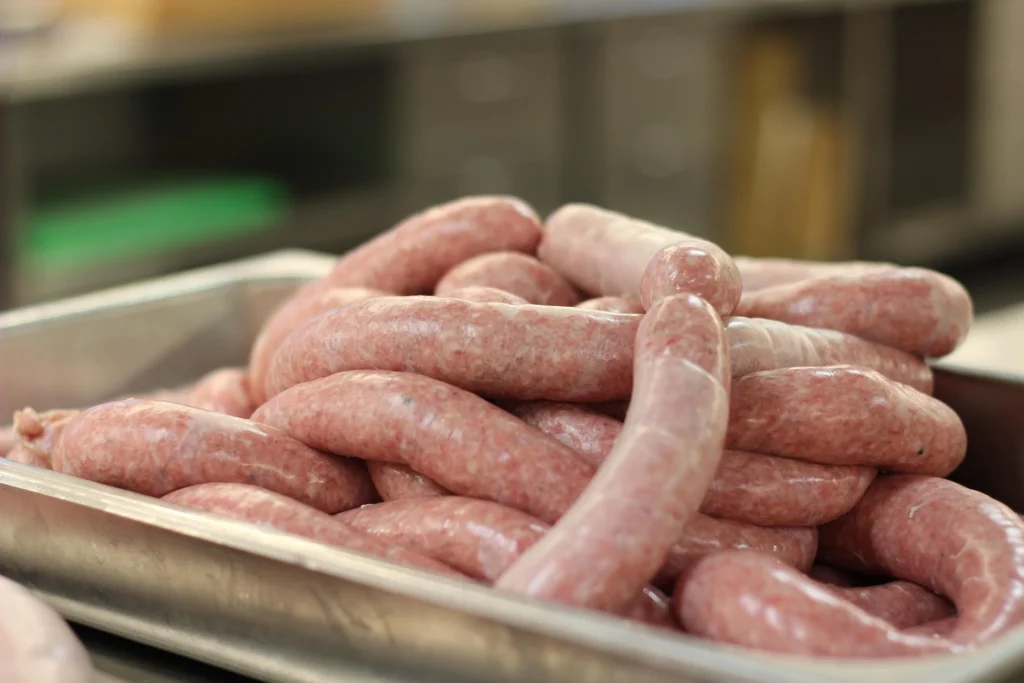
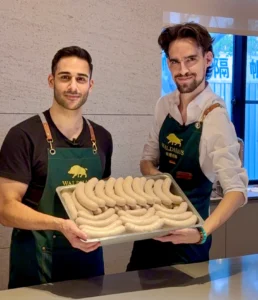
Raw Bratwurst
Raw sausage contain raw, ground meat seasoned with fresh herbs and spices.
Because the proteins have not been heat-set, the texture is incredibly delicate. If you apply high heat immediately, the proteins seize, causing the sausage to shrink rapidly and often split the casing. Patience is mandatory: They require a lower, steady temperature to cook the inside without burning the exterior.
Pro tip: Use a fork or pointy object to poke 3-4 holes on each side in the intestine. This creates openings for the juices to leave the sausage, thus preventing the sausage from bursting open on the grill. It is sometimes better to relief pressure and juices slowly rather than the sausage breaking and releasing all juices at once.
BUT BEWARE: If you poke too many or big holes it may result in a dry sausage, as too much of the savoury juices leave the inside of the sausage. It largely depends on the fat-to-meat ratio. If your sausage has a very high fat content, the loss of a few drops of liquid through a fork prick is negligible. However, if you are working with a leaner, artisan-style sausage, that liquid is vital for the mouthfeel. In that specific context, even a small leak can shift the texture from “juicy” to “slightly grainy” or “dense.
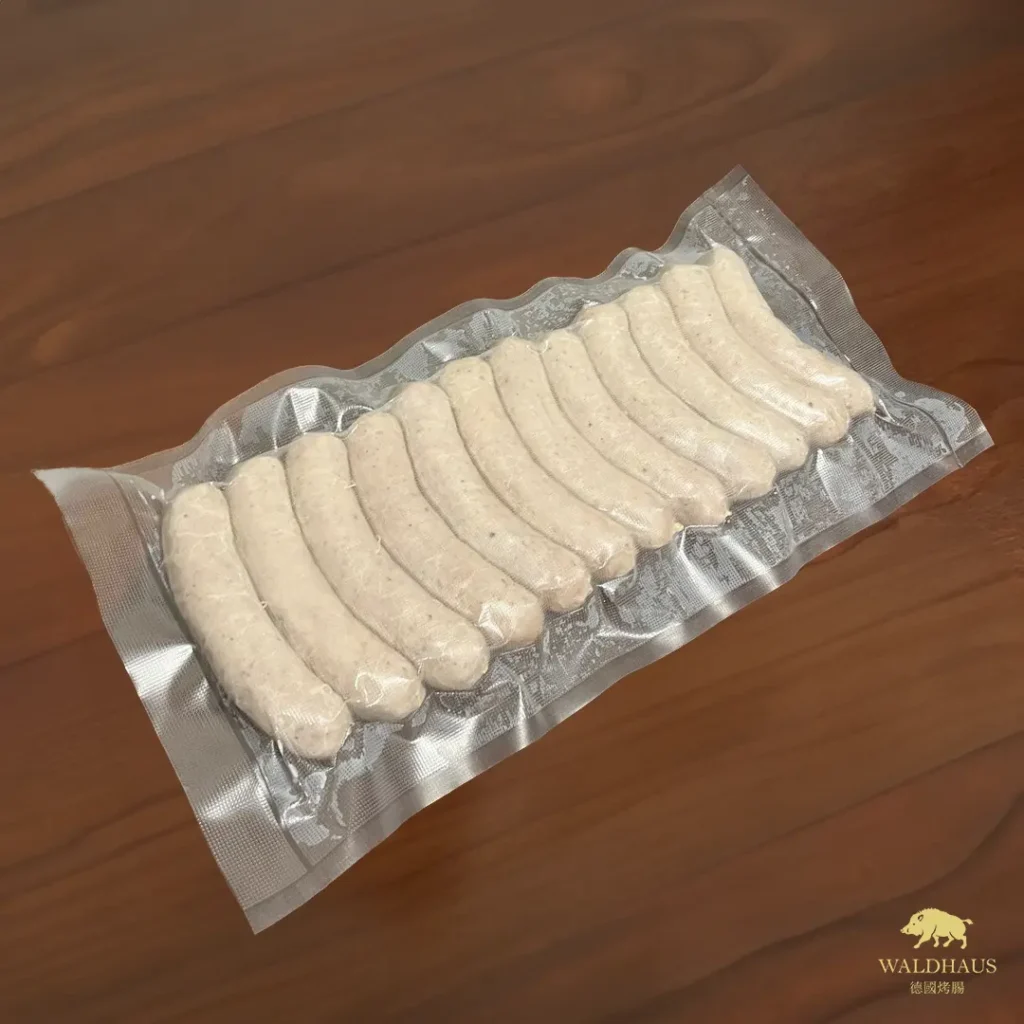
Pre-brewed Bratwurst
This category includes classics like Knackwurst, Bockwurst, and your pre-cooked Bratwurst. During production, the butcher gently poaches these in water (scalds them) to set the protein structure before they are packaged.
Because these sausages have already been heated through during the production process, they are already “cooked.” The proteins are firm, and the fat is emulsified. They are significantly more forgiving than raw sausages because they aren’t prone to falling apart.
Using a Grill to Cook Sausages
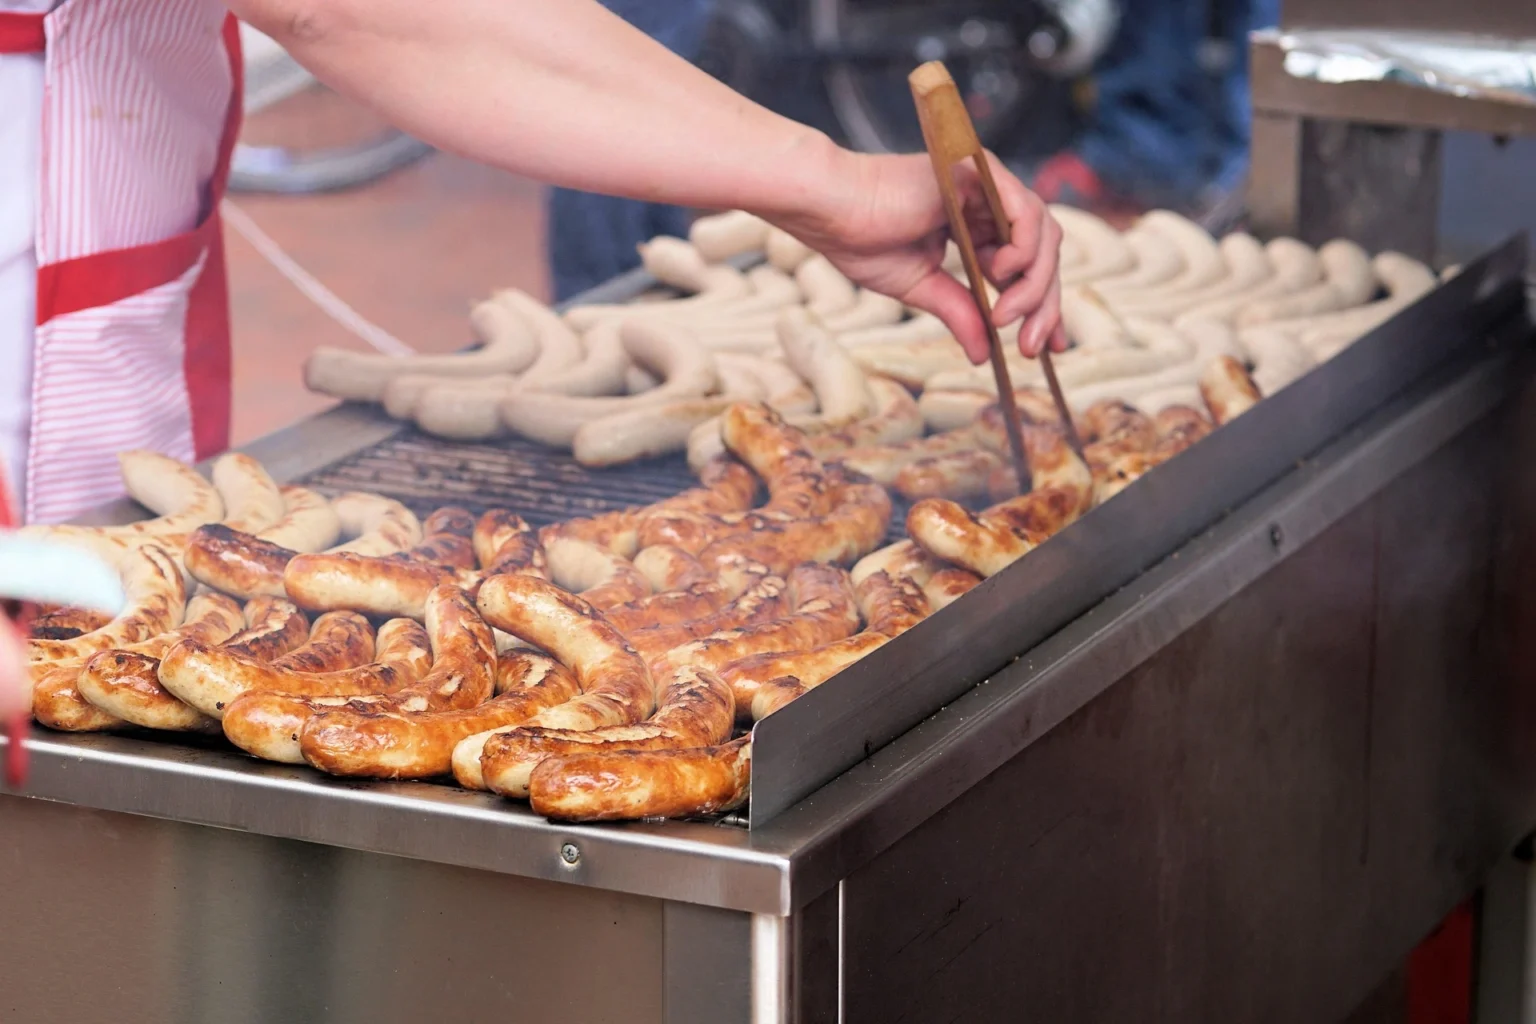
Grilling is the ultimate way to elevate a high-quality sausage. The combination of direct heat and wood smoke creates a depth of flavor that a kitchen stove simply cannot replicate.
The Technique: Mastering Your Grill Type
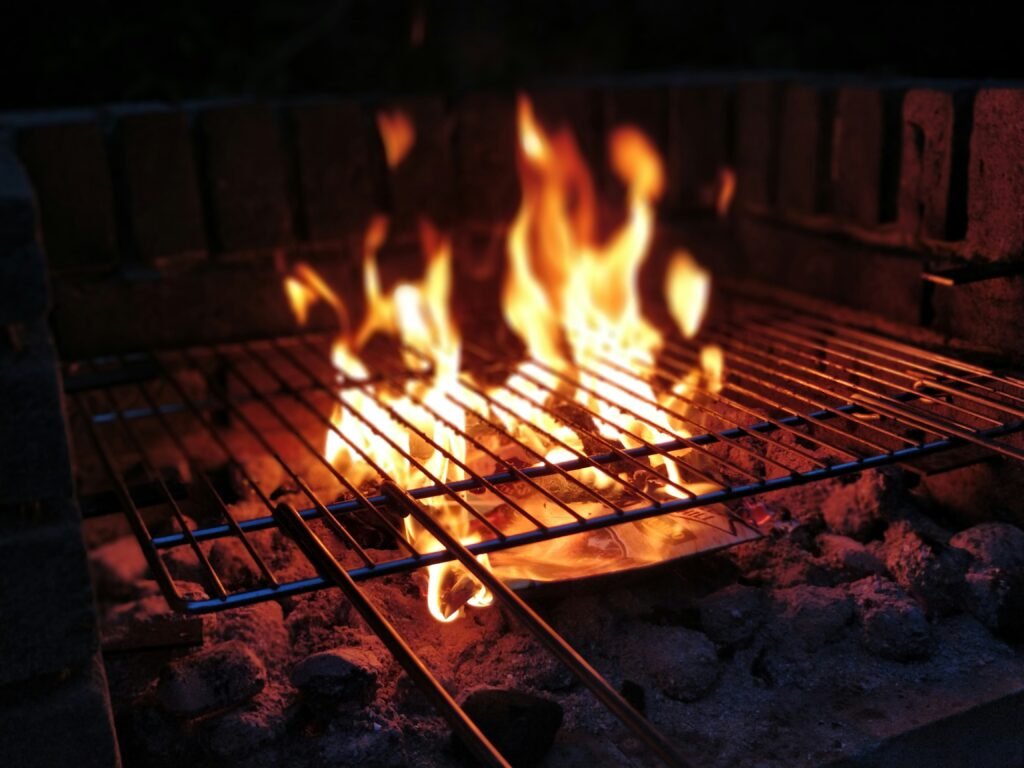
1. Charcoal Grills: The Purist’s Choice
The charcoal grill offers something no gas grill can replicate: the Maillard reaction combined with wood-smoke infusion. When fat from the sausage drips onto the hot coals, it vaporizes, creating a smoke that travels back up and clings to the casing. This is the authentic “Biergarten” aroma.
The Pro-Setup: The Two-Zone Fire
Don’t just dump coals in the middle. To achieve perfection, you need control:
- The High-Heat Zone (Direct): Pile about 2/3 of your lit coals on one side. This is your “Sear Station.”
- The Tempering Zone (Indirect): Leave the other 1/3 of the grill empty. This is your “Finish Line.”
- The Pro-Tip: If you have it, throw a small chunk of hardwood (like apple or beech) onto the coals. A little smoke goes a long way; don’t overdo it—you want the taste of the meat, not the taste of a campfire.
The Master Technique: “The Sear-and-Hold”
- Step 1: The Sear (2–3 minutes): Place your sausages directly over the coals. Do not walk away. Rotate them every 30–45 seconds. Your goal here is color and crust, not internal temperature. If you see flames (flare-ups) touching the meat, move them immediately. Note: If you have to poke them to prevent splitting, it means your heat is too high—move them to a cooler spot!
- Step 2: The Tempering (5–10 minutes): Once the casing has that deep, mahogany-golden color, move them to the “Cool Zone.” Close the lid.
- Step 3: The Vent Adjustment: Open the vents on your lid about halfway. This creates a convection effect, pulling the smoke over the sausages and cooking them through with ambient heat.
- Step 4: The Internal Temp (Optional but Pro): If you want to be 100% precise, use a digital meat thermometer. Pull them off when the internal temperature hits 70°C (158°F). This is the sweet spot where the sausage is fully cooked but still brimming with juice.
Troubleshooting Common Issues
- The Flare-Up: If the fat drips and creates a massive flame, move the sausages to the cool zone immediately. Use a spray bottle with a tiny bit of water to tame the coals if necessary, but be careful not to create a cloud of ash that sticks to your sausages.
- The “Grey” Sausage: If your sausage looks grey rather than golden, your grill wasn’t hot enough during the searing phase. Next time, wait an extra 5 minutes for the coals to become fully “ashen” (covered in a fine grey dust) before putting the meat on.
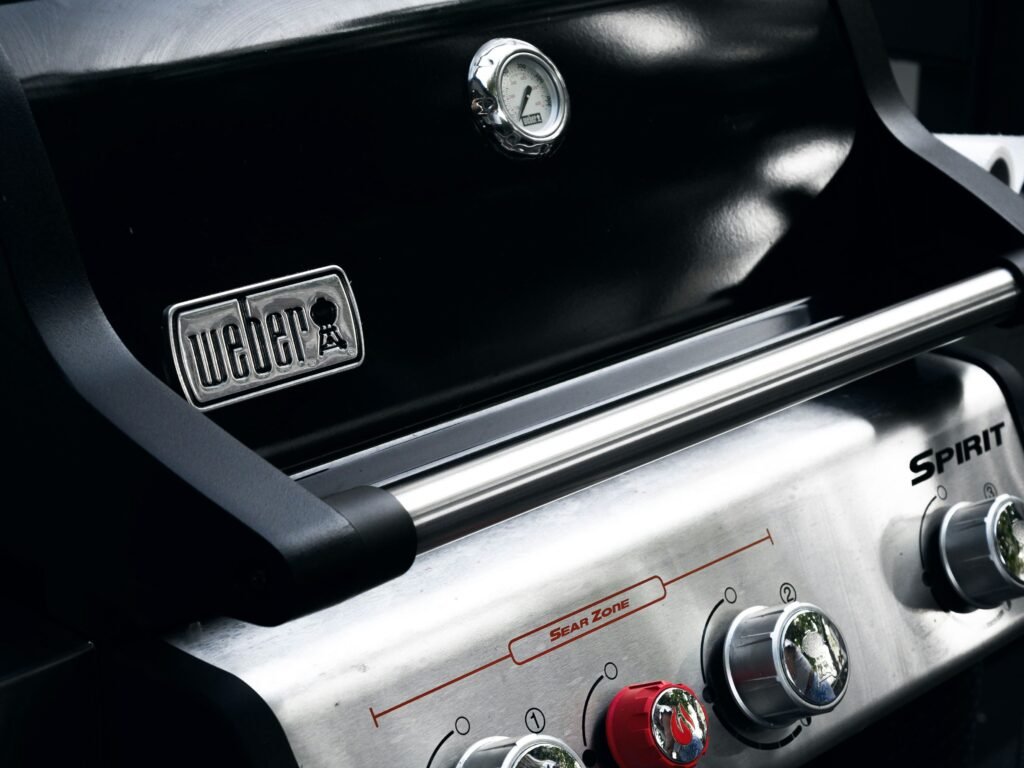
2. Gas Grills: The Precision Master
For the busy home cook or the weekend host, a gas grill is the ultimate tool for consistency. Unlike charcoal, which is temperamental, gas gives you total control over the internal environment of your grill. The key here is to treat your grill like a high-end convection oven that just happens to have sear marks.
The Pro-Setup: The Heat-Zone Strategy
- The “Slow-Roast” Zone: Leave one or two burners (depending on your grill size) completely OFF. This is your sanctuary.
- The “Sear” Zone: Ignite the remaining burners to Medium Heat.
- Pro-Tip: Don’t set the burners to “High.” High heat on a gas grill often causes the sausage to split before it’s even cooked through, and it burns the sugar in the casing before the inside is ready.
- The Lid-Down Rule: Your grill lid is not just a cover; it’s part of the cooking apparatus. Keeping it closed creates the ambient heat required to cook the sausage evenly.
The Master Technique: “The Reverse Sear”
- Step 1: The Ambient Soak (8–10 minutes): Place your sausages on the unlit (cool) side of the grill. Close the lid. The ambient heat from the lit burners will circulate around the sausage, slowly bringing the internal temperature up. This mimics the “poaching” effect but with dry heat, keeping the casing snappy and the inside perfectly moist.
- Step 2: The Final Sear (1–2 minutes): Move the sausages over to the lit burners. Now, you are only focused on the finish. Because the inside is already warm and cooked, you only need to sear the exterior until it reaches that deep golden-brown color.
- Step 3: The Rotation: Don’t let them sit still. Rotate them every 30 seconds. Because gas grills often have “hot spots,” constant movement ensures the skin is crisp all the way around without burning one side.
Pro-Tips for Gas Grills
- The “Clean-Burn” Prep: Always preheat your grill for 10 minutes before cooking. If your grates are cold, the sausage will stick and tear the casing when you try to turn it. A hot, clean grate is the secret to a perfect, intact skin.
- The “Grease Management”: Gas grills can accumulate grease at the bottom, which can lead to accidental flare-ups. If you notice a flare-up, don’t panic—just move the sausage to the cool zone for a moment. Never use water on a gas grill flare-up; just move the meat.
- Thermometer Precision: Since gas grills are so consistent, use this to your advantage. Once you find the “sweet spot” on your dial that brings the grill to roughly 180°C (350°F), remember that setting. That is your magic number for sausages every time.
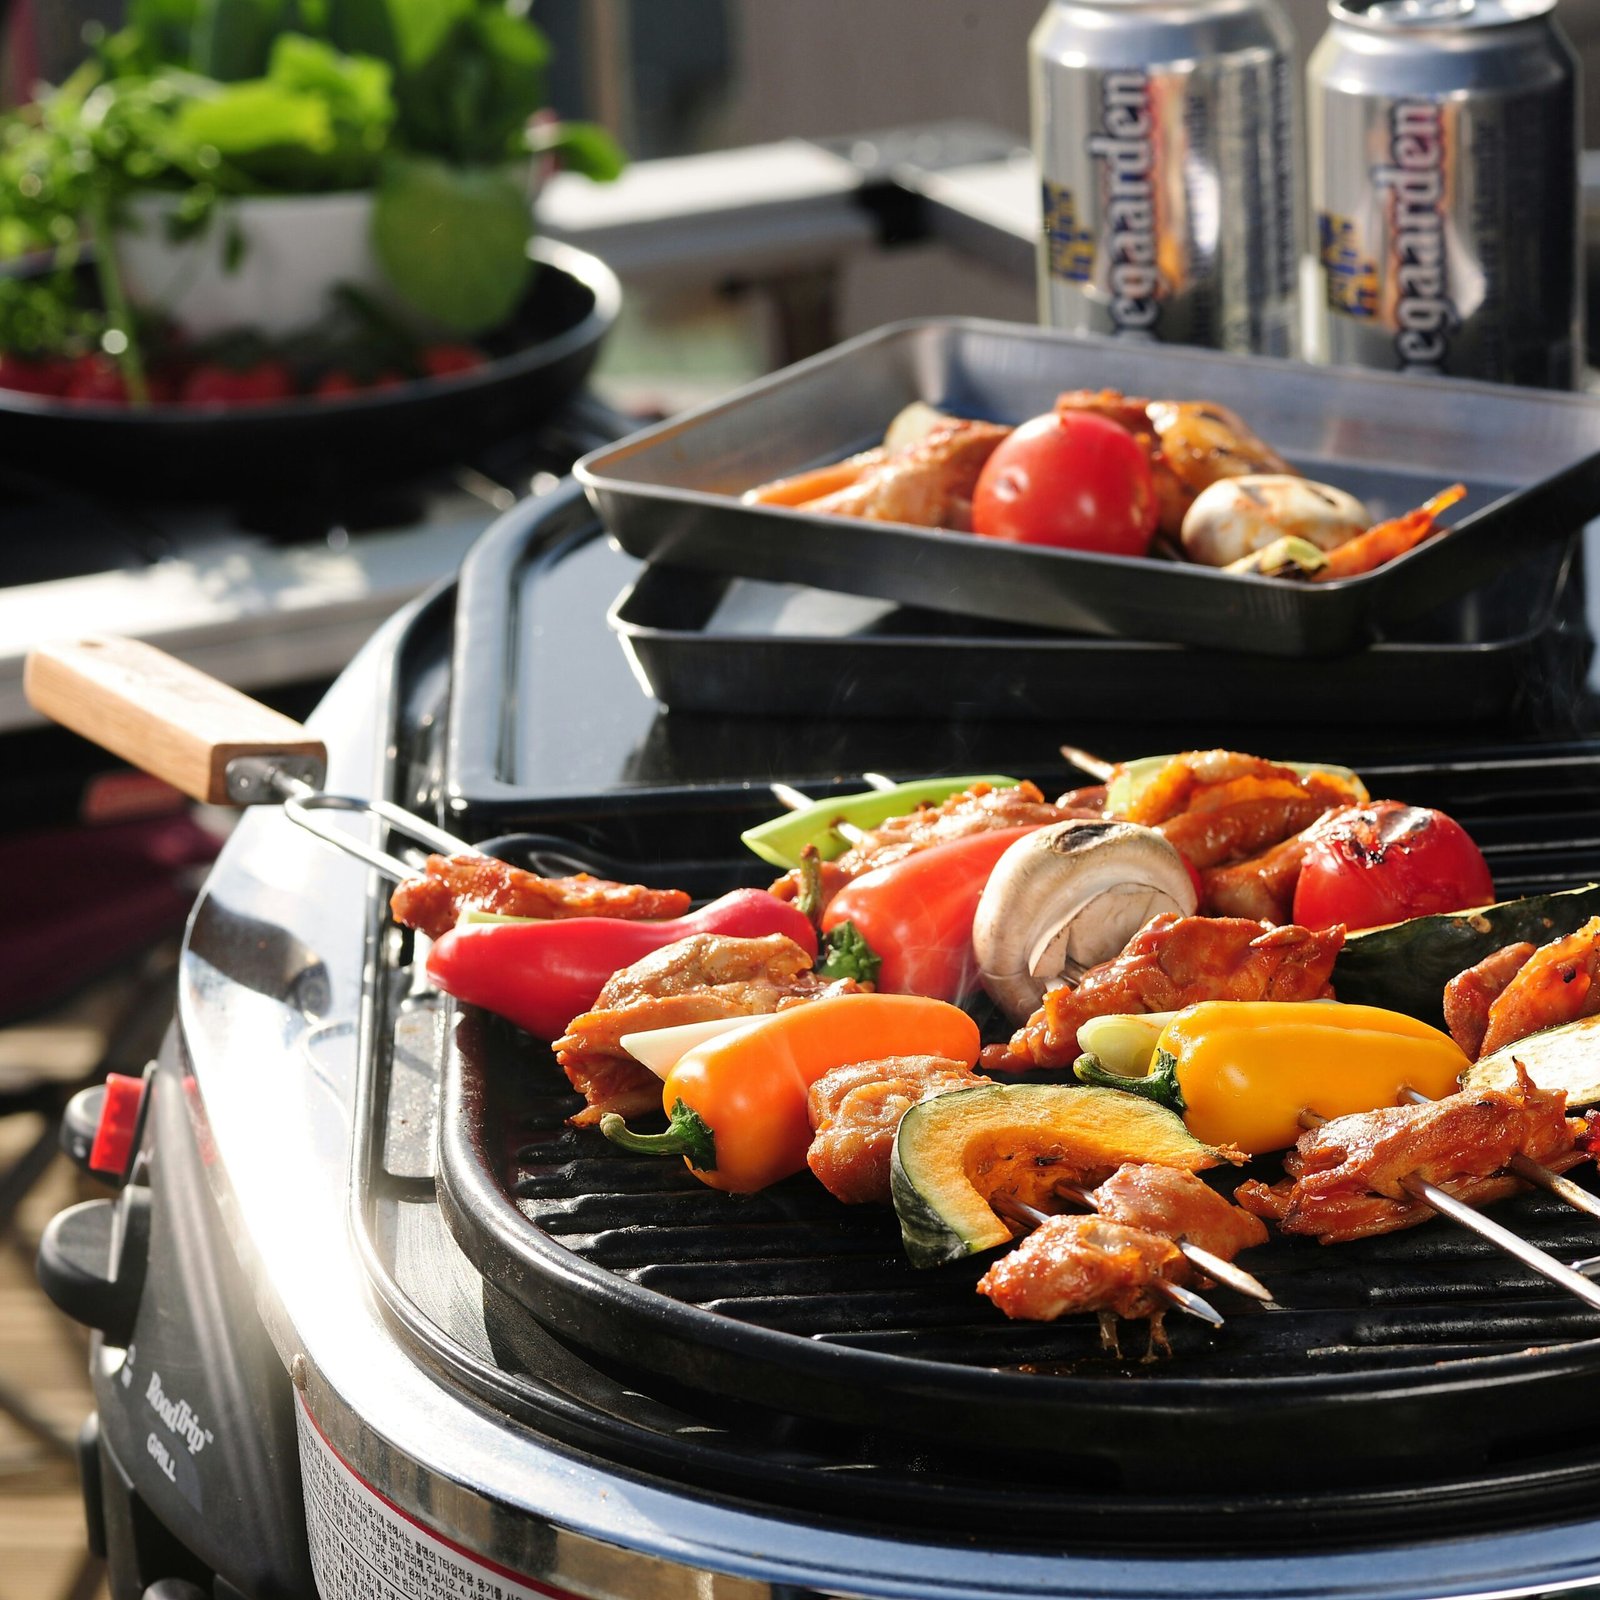
3. Electric/Infrared Grills: The Urban Expert
Electric and infrared grills are masters of intense, direct energy. Infrared, in particular, uses light-based technology to heat the surface of the meat directly, creating an incredible crust in record time. Because these grills lack the “indirect zone” of a charcoal setup, you must manage your heat like a conductor.
The Pro-Setup: The Surface Management
- The Preheat is Non-Negotiable: Electric grills take time to reach a steady temperature. Let it preheat for at least 10–15 minutes. If you put the sausage on a lukewarm surface, the casing will stick, and the fats will begin to render out in a “gooey” mess before the crust can form.
- The “Low-and-Consistent” Dial: Set your grill to Medium-Low. Because these units focus heat directly onto the grate, you don’t need high settings. If you go too high, the infrared energy will burn the casing before the middle of the sausage even warms up.
The Master Technique: “The Constant Rotation”
- Step 1: The First Sear (4 minutes): Place your sausages on the grill. Since you don’t have a “cool zone,” you have to create a “virtual” one through movement. Turn the sausages every 60–90 seconds.
- Step 2: The Lid-Closed Convection (4–6 minutes): If your grill has a lid, close it for a few minutes to trap the radiant heat. This allows the heat to penetrate the core of the sausage without scorching the outside. If you don’t have a lid, you must be even more diligent with your rotation.
- Step 3: The “Soft-Touch” Test: Use your tongs to gently press the sausage. An undercooked sausage feels “mushy” or soft. A perfectly cooked sausage will have a firm, bouncy resistance. If it feels too soft, turn your heat down further and give it two more minutes.
Pro-Tips for Urban Grilling
- Use a Silicon-Tipped Tong: Electric/Infrared grates are often coated with high-tech non-stick or ceramic materials. Metal tongs can scratch this surface, which will cause your sausages to stick in the future. Treat your grill surface like a high-end pan!
- The “Resting” Plate: Because electric grills rely on intense surface heat, the outside of the sausage will be significantly hotter than the inside. When you take them off, place them on a warm plate (not a cold one) and cover them loosely with foil for 3 minutes. This lets the intense surface heat gently equalize with the center.
- Oil the Grates, Not the Sausage: A light coating of high-smoke-point oil (like avocado or refined grapeseed oil) on the grill grates prevents the casing from bonding to the surface. Avoid olive oil, as it will burn and become bitter at the temperatures these grills reach.
The Golden Rule for All Grills: Always keep the lid closed as much as possible if you have one. This turns your grill into a mini-oven, ensuring the heat surrounds the sausage evenly rather than just hitting one side.
The Result: A smoky, complex flavor with a distinct, crispy char that tastes like a summer festival in Germany.
Using a Pan to Cook Sausages
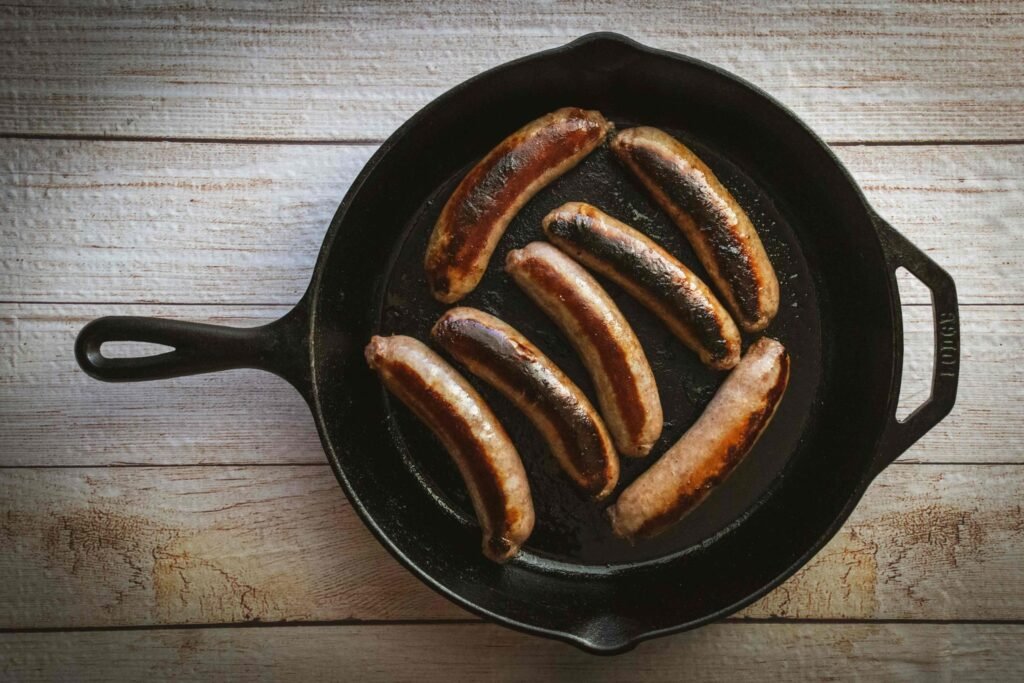
The Pan: The Precision Masterclass
The pan is not just a “Plan B” for when you can’t grill; it is a masterclass in heat management. The advantage of a pan is 100% contact. You aren’t relying on hot air; you are relying on direct, conductive heat. This is the secret to that perfectly uniform, golden-mahogany color that makes a sausage look irresistible.
The Pro-Setup: The Right Gear
- The Vessel: Use a heavy-bottomed pan—preferably cast iron or a thick-walled stainless steel pan. Thin pans create “hot spots” that burn the casing in one place and leave it pale in another.
- The Fat: Use a neutral oil with a high smoke point (like Grapeseed or Avocado oil). If you want that authentic German flavor, use a tiny knob of clarified butter (Butterschmalz) at the very end of the cooking process for a nutty, aromatic finish.
The Master Technique: “The Constant Motion”
- Step 1: The Tempering (Low Heat): Start with the heat at medium-low. If you toss a cold sausage into a screaming hot pan, the casing will contract violently and split. Give the pan 3 minutes to warm up before the sausage touches it.
- Step 2: The Continuous Roll (8–12 minutes): This is where you earn your chef’s stripes. Do not let the sausage sit on one side. Roll it a quarter-turn every 60 seconds. This ensures the heat is distributed evenly and the casing browns at the same rate as the meat inside.
- Step 3: The “Butter Bath” (The Final 60 Seconds): Once the sausage is 90% cooked and has a light golden color, add that knob of clarified butter. Baste the sausages with the foaming butter using a spoon. This gives the casing a glossy, professional, restaurant-quality sheen.
Pro-Tips for the Perfect Pan-Sear
- The “Water-Sauté” Method (For Raw Sausages): If you are worried about the inside being raw while the outside is getting too dark, add 2 tablespoons of water to the pan and cover it with a lid for 3 minutes. The steam will cook the sausage through instantly. Then, remove the lid, let the water evaporate, and finish with your oil/butter to get the sear. It’s the “fail-safe” secret of professional butchers.
- Don’t Crowd the Pan: If the sausages are touching, they will steam each other rather than sear. Give them space. If you are cooking for a crowd, do it in batches.
- The Resting Rule: Just like a steak, move the sausages to a wooden cutting board for 2–3 minutes before serving. This prevents the “leakage” that happens if you cut into them immediately.